Exploring macOS Virtualization
Let's dive into the exciting world of virtual machines and discover some new ways to test our workflows. Things may have changed a bit, but that's just more reason for us to team up and uncover the best strategies together.
Today, we’ll dive into the world of virtualisation on macOS, focusing on Apple Silicon. There are some changes, the biggest change is that all virtualisation within macOS uses the Apple virtualization framework.
The Virtualization framework provides high-level APIs for creating and managing virtual machines (VM) on Apple silicon and Intel-based Mac computers. Use this framework to boot and run macOS or Linux-based operating systems in custom environments that you define. The framework supports the Virtual I/O Device (VIRTIO) specification, which defines standard interfaces for many device types, including network, socket, serial port, storage, entropy, and memory-balloon devices.
There are various free options available for virtual machines (VMs) on your Apple Silicon Mac and remember all these applications will be utilizing the Apple virtualization framework. The difference lies in how each application interprets this framework. Choose an application that aligns best with your workflow from the options listed.
Things have changed
With the new Virtualization framework there a few things that have changed since the Intel days. With Apple Silicon and the new Virtualization framework:
- There is no secure enclave
- Without the secure enclave, automated device enrolment is not possible.
- No TouchID
- No AppleIDs
- Without the AppleID, there is no
- Beta Software Updates
- Apps and Books
- Without the AppleID, there is no
- Limit of two virtual machines can be "on" at the same time.
Part 1: Cirrus Labs Tart
A Command Line-Based Virtualisation Tool
Cirrus Labs 🥧 Tart is a specialised virtualisation toolset designed for building, running, and managing macOS and Linux virtual machines on Apple Silicon, significantly enhancing performance and automation capabilities for CI1 engineers. Ninety-nine percent of your interaction with tart is via the command line but there is a GUI app that will render your VM. The killer feature with Tart is the use of images. You can make your own2 or use the ones listed within Cirrus Labs repository. Then it is a matter of just creating a single use VM, test and then destroy.

Installing Tart
To install Tart, you have two options: either through ‘brew’ or via a package installation. For detailed guidance, visit the Tart Quick Start Guide. Once installed, you can either download an image from the Cirrus Labs repository or install a fresh VM from a macOS IPSW file.
After installing Tart, you need to either pull down an image from the Cirrus Labs repository or create a fresh VM from a macOS IPSW.
Once you have tart installed you will either need to pull down an image from the Cirrus Labs repo, or you can need to install a fresh VM from a macOS ipsw.
- Pulling Down an Image: Use the command
tart clone ghcr.io/cirruslabs/macos-sonoma-vanilla:latest mynewvm
to download a pre-made image. The vanilla image is pre-configured with no setup assistant, an admin user, and screen sharing and remote login settings.
- Installing a Fresh VM via IPSW: If you prefer not using a pre-made image, use
tart create --from-ipsw ~/path/to/macosversion.ipsw mynewvm
This method is recommended if you are running two or more VM within your MDM. - Starting Your VM: Once you have the vanilla base image, you can start your VM with
tart run mynewvm. - Setting Up a Shared Folder: For optimal usage, add a shared folder to your VM command:
tart run --dir=project:~/src/project mynewvm.
Starting a VM without a GUI
Did you know you can initiate a VM without a graphical user interface? Simply use the command tart run --dir=project:~/src/project mynewvm --no-graphics --vnc This allows you to connect via screen sharing, streamlining your workflow.
The key to add --no-graphics --vnc
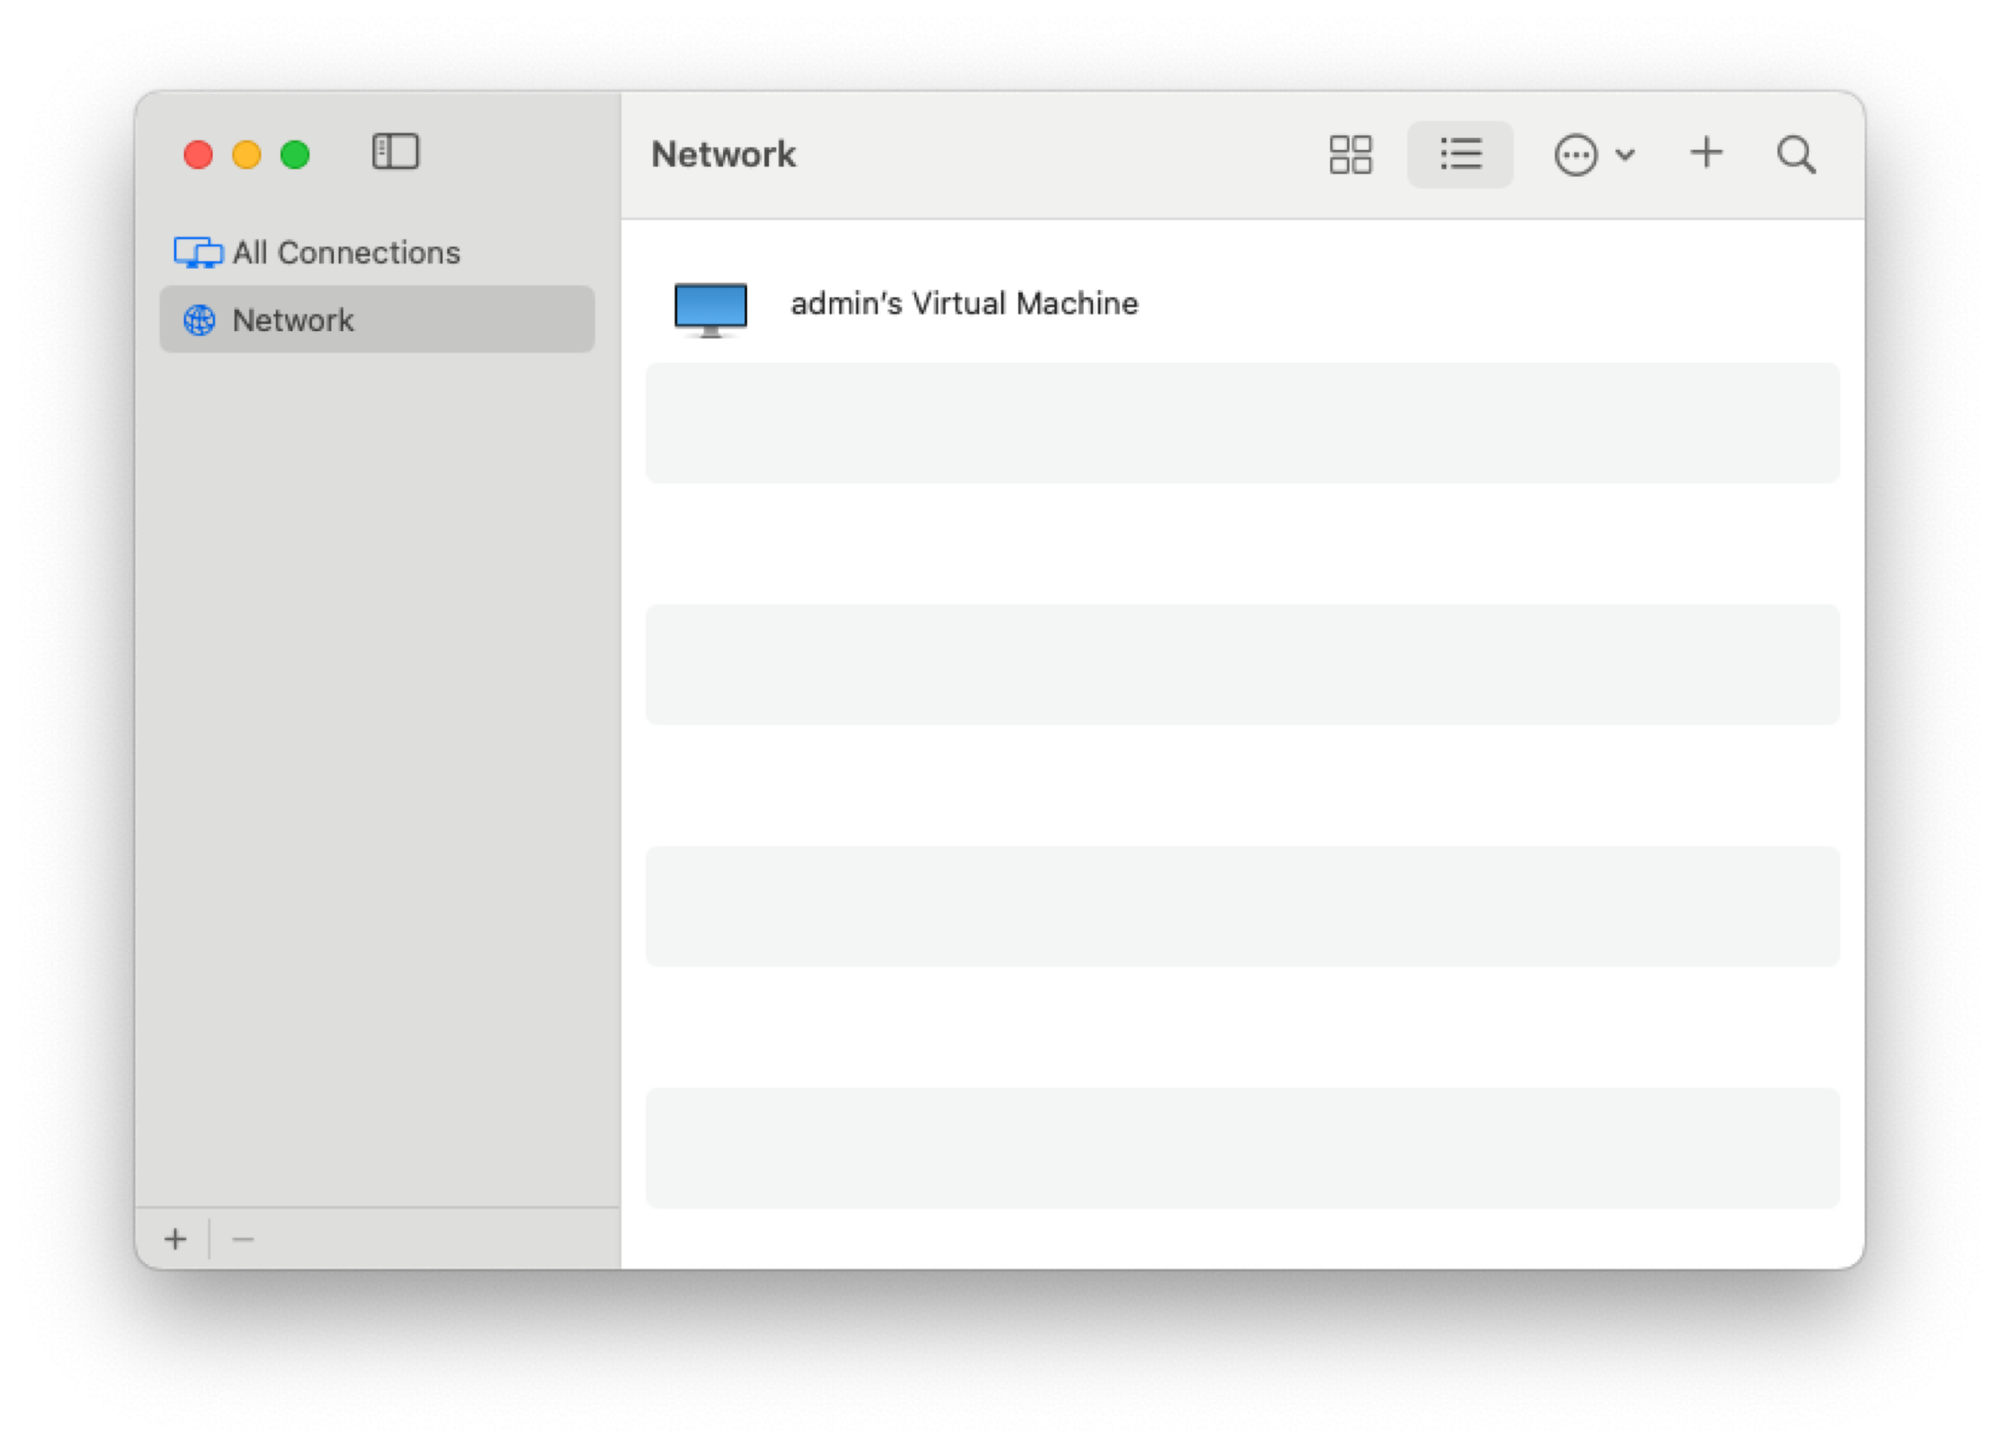
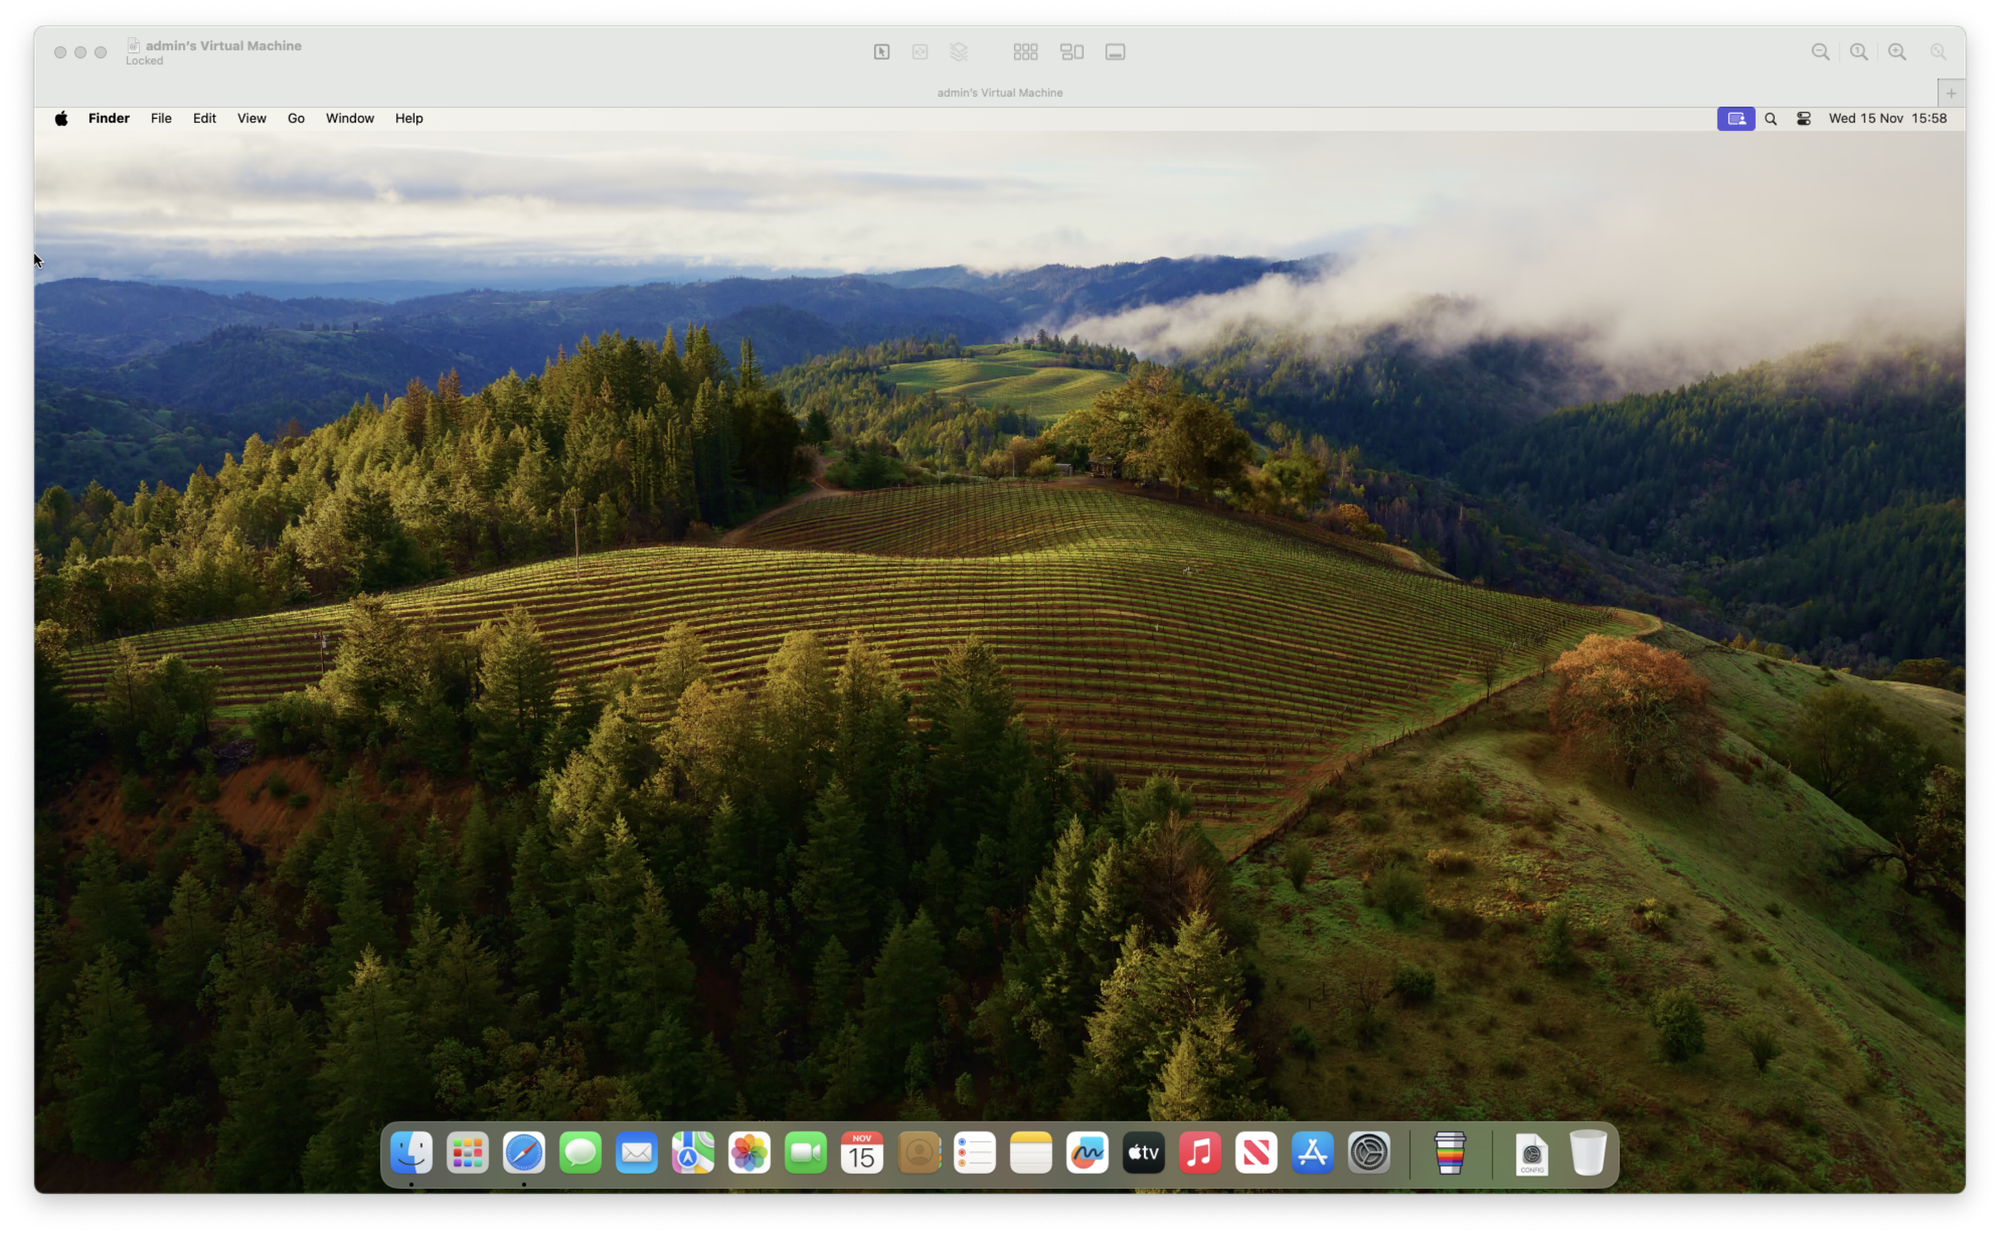
Remember, the VM is pre-configured with an ‘admin’ user, and screen sharing is already enabled, making the process incredibly straightforward and user-friendly.
Inspiration kudos goes to - Dan K. Snelson